References
I have written about the steps to build a WordPress before, but I didn’t explain it in detail. You can refer to it
Creating WordPress
This article uses Docker Compose
Please confirm that Docker is installed on the server
Please confirm that Docker Compose is installed on the server
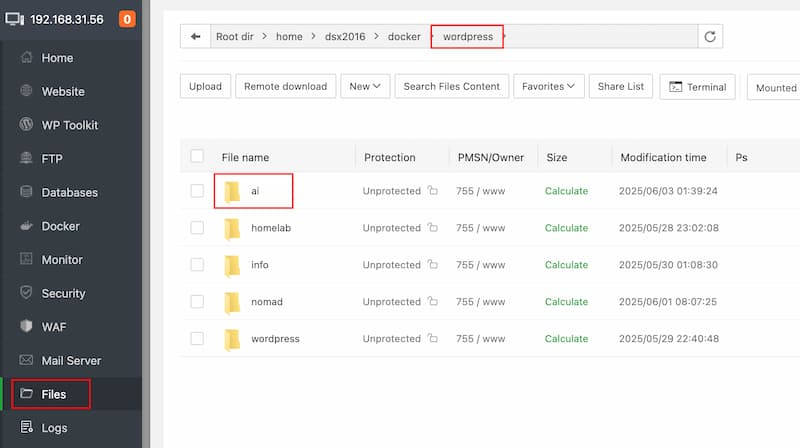
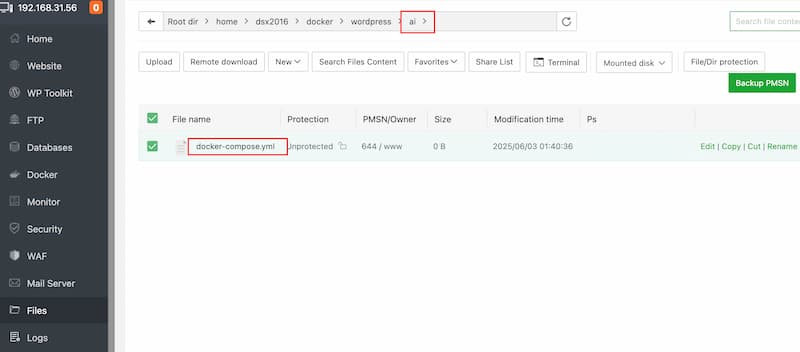
Create a folder to store Docker Compose files and data volumes, such as /home/dsx2016/docker/wordpress/ai in this article, create a new docker-compose.yml file in the ai folder
The file content is
version: '3.3'
services:
   db_ai_demo:
     image: mariadb:latest
     volumes:
       - ./db_data:/var/lib/mysql
     restart: always
     environment:
       MYSQL_ROOT_PASSWORD: ai_demo
       MYSQL_DATABASE: ai_demo
       MYSQL_USER: ai_demo
       MYSQL_PASSWORD: ai_demo
   wordpress_domain:
     depends_on:
       - db_ai_demo
     image: wordpress:latest
     ports:
       - "3067:80"
     restart: always
     environment:
       WORDPRESS_DB_HOST: db_ai_demo:3306
       WORDPRESS_DB_USER: ai_demo
       WORDPRESS_DB_PASSWORD: ai_demo
       WORDPRESS_DB_NAME: ai_demo
     volumes:
       - ./wordpress:/var/www/html
volumes:
    db_data: {}
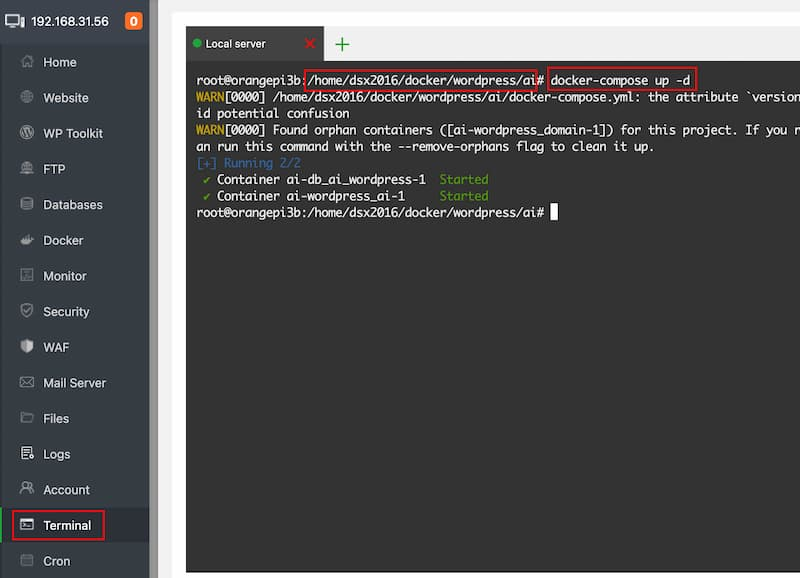
Subsequent operations are all in the ai folder
Whether it is executing command lines or modifying configuration files
Start Docker
Execute the command in the terminal (note that it is in the ai directory)
docker-compose up -d
Refer to the previous article and change the reverse proxy port to the port set in the docker-compose.yml file
For example, 3067
The actual setting is
http://0.0.0.0:3067
If Docker Compose WordPress is deployed on a cloud server, WordPress can be accessed directly at this time
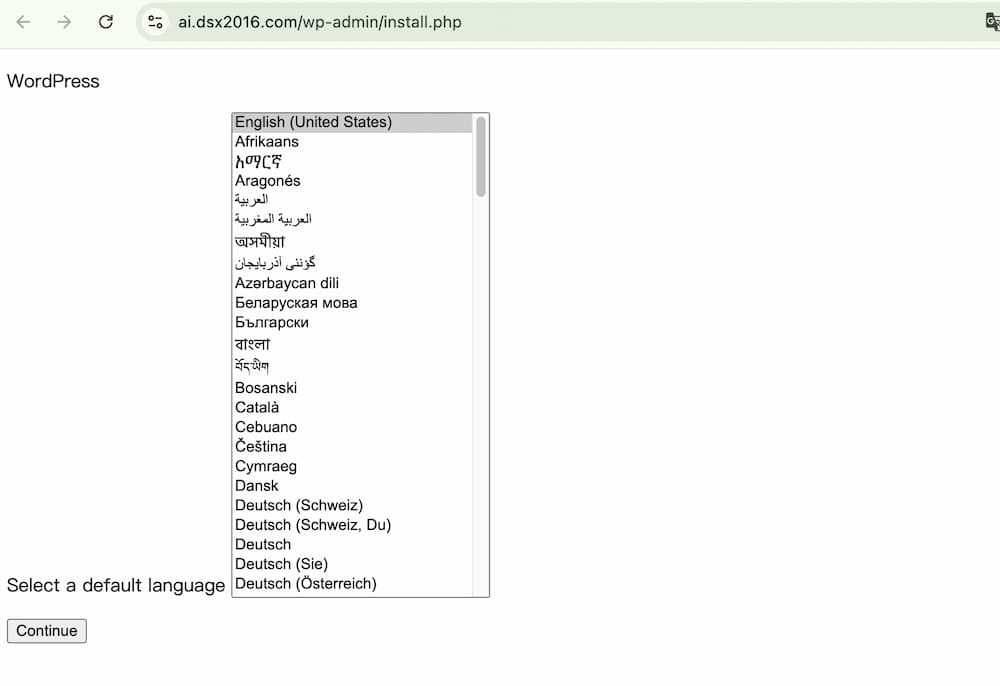
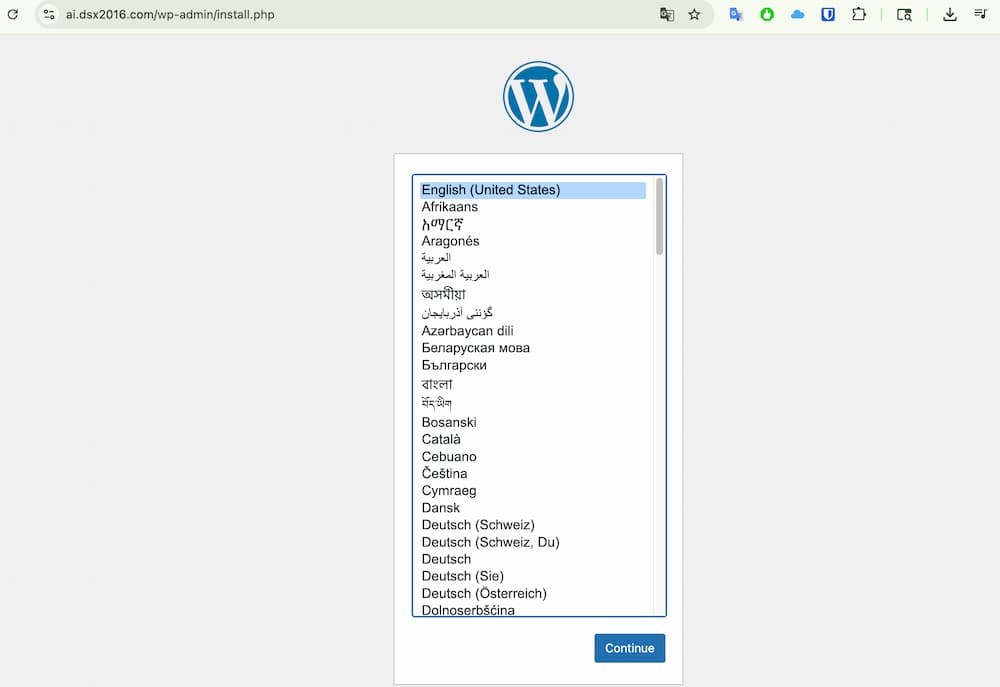
Visit WordPress
When you start the web page for the first time
You will find that the style of the web page is abnormal
This is due to the problem of Docker Compose deployment and FRP proxy
The solution is to
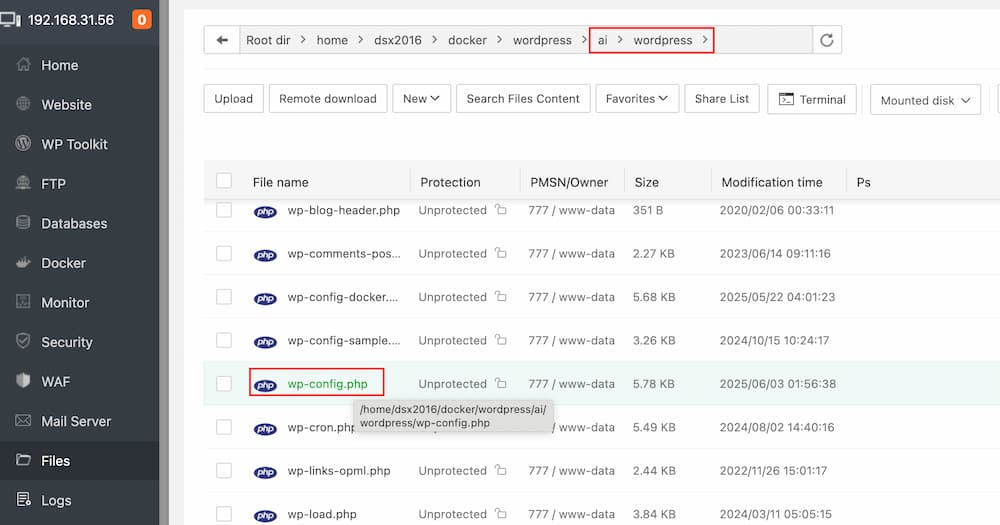
In the AI folder, check the newly added wordpress folder, find the wp-cconfig.php file, and open it
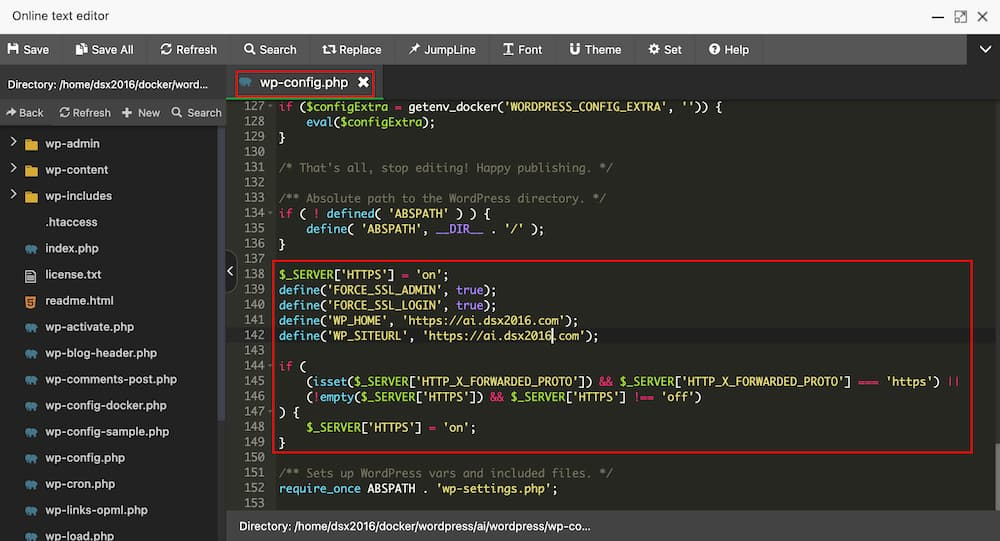
Add the code at the bottom of the file, above the last line
Note that ai.dsx2016.com should be changed to your own blog domain name
$_SERVER['HTTPS'] = 'on';
define('FORCE_SSL_ADMIN', true);
define('FORCE_SSL_LOGIN', true);
define('WP_HOME', 'https://ai.dsx2016.com');
define('WP_SITEURL', 'https://ai.dsx2016.com');

if (
    (isset($_SERVER['HTTP_X_FORWARDED_PROTO']) && $_SERVER['HTTP_X_FORWARDED_PROTO'] === 'https') ||
    (!empty($_SERVER['HTTPS']) && $_SERVER['HTTPS'] !== 'off')
) {
    $_SERVER['HTTPS'] = 'on';
}
Refresh the website again
The style becomes normal
Tips
The server in this article is Ubuntu Server 24.04 (Docker also supports other systems)
This article does not record the installation of Docker and Compose. If necessary, you can check other blogs and videos on the Internet, or leave a message to tell me what needs to be added
If you encounter problems during the installation process, you can give the error message to CHatGpt to solve it. It may be a file permission problem, a code character problem, or other problems. With the help of AI, most problems can be solved
The next article will record the online setting process of the blog