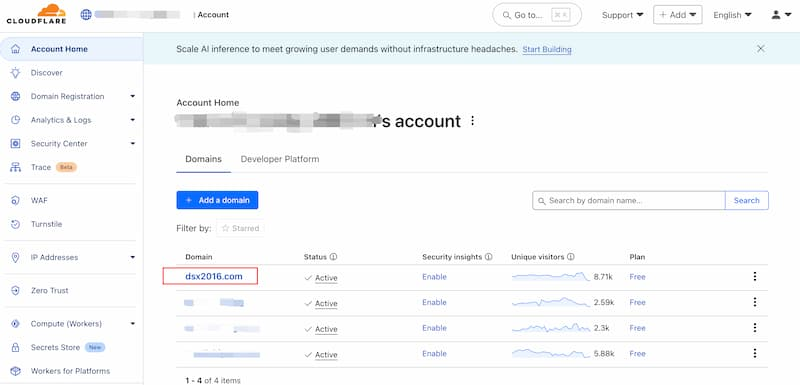
CloudFlare choose a domain
Click the domain name to be resolved
For example, the main domain name of this article is dsx2016.com
This blog is going to create a new WordPress blog about AI, and plans to set the domain name to the second-level domain name ai.dsx2016.com
Note
This blog does not record the issue of domain name purchase for the time being
This blog does not record how the domain name service provider resolves to CloudFlare for the time being
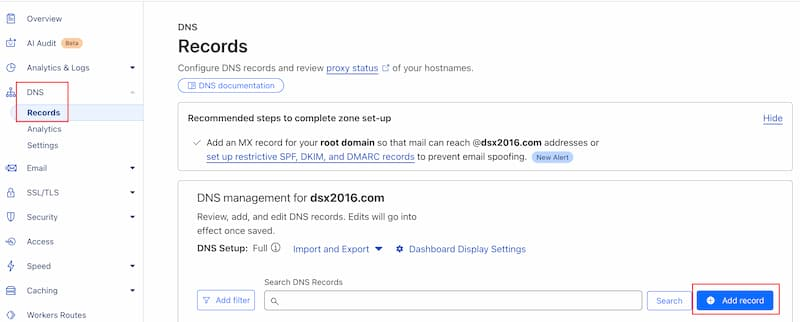
CloudFlare Setup DNS
Click DNS, click Records
Click Add record
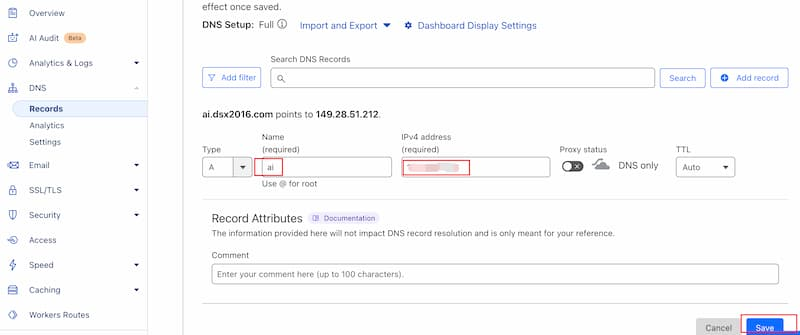
Use a record mode
Fill in ai for the front domain name (try to use lowercase letters) (in this article, it is ai, you can use your own words)
IPv4 address Fill in the server’s IP address (this article does not record the server purchase and IP address)
Aapanel Domain Name Proxy
Aapanel is a server visualization panel that needs to be installed on the server
The server of this blog is Orange Pi 3B (8GB memory), installed with Ubuntu Server24.04 system
Install the aapanel visualization panel yourself to facilitate subsequent domain name agency and SSL certificate application
aapanel official website address (remember to install the free version, do not install the pro paid version)
Click the Website menu on the left, click Add site
Domain name Enter the domain name to be resolved, such as ai.dsx2016.com in this article
Click Confrim
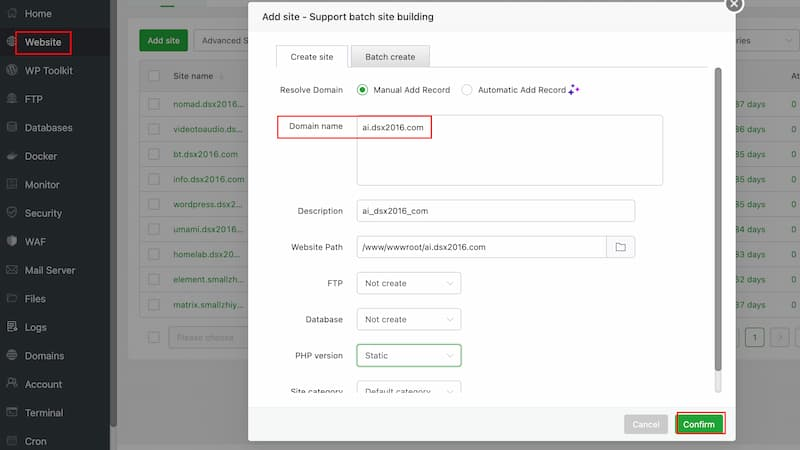
Wait for the website to be created
Aapanel Set Up SSL Certificate
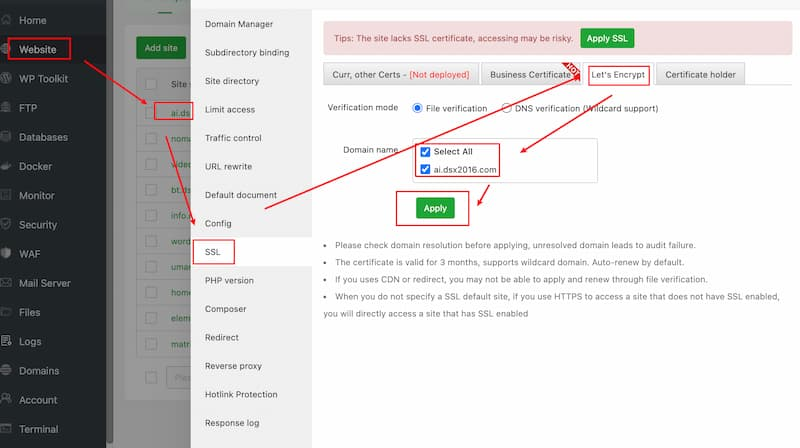
Click Website again, click ai.dsx2016.com (your website), and you will see the corresponding website settings pop-up box
Click SSL, click Let’s Encrypt, check all options, click Apply, click Apply And Open, and wait for the certificate to be generated
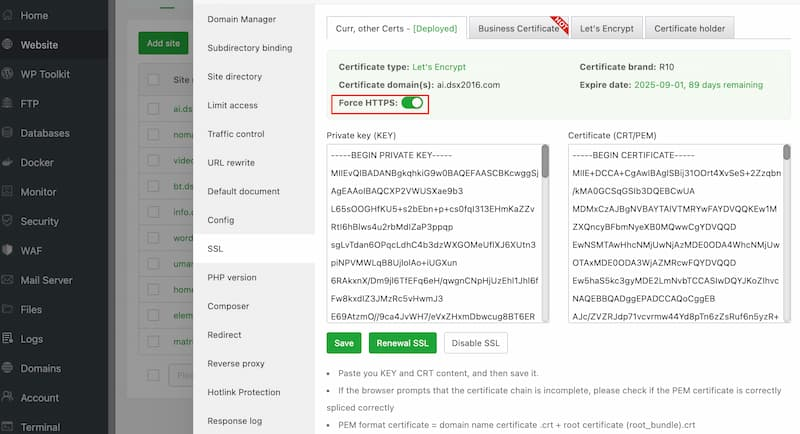
After the SSl certificate is generated, I usually turn on Force HTTPS
Turn on Force HTTPS
This way, if someone accesses http, they will be forced to switch to https, ensuring the security of the website and information encryption
So far, you can open ai.dsx2016.com. You can see the default website page
But if you want to point to WordPress, you also need to set up Nginx reverse proxy and point the network service to the corresponding blog port
Aspanel sets up Nginx reverse proxy
Deploy WordPress using Docker Compose
Whether deployed on a cloud server or a local server, a blog access port will be exposed
You only need to point the reverse proxy to the port exposed by the blog Docker
Assume that the blog port is 3062
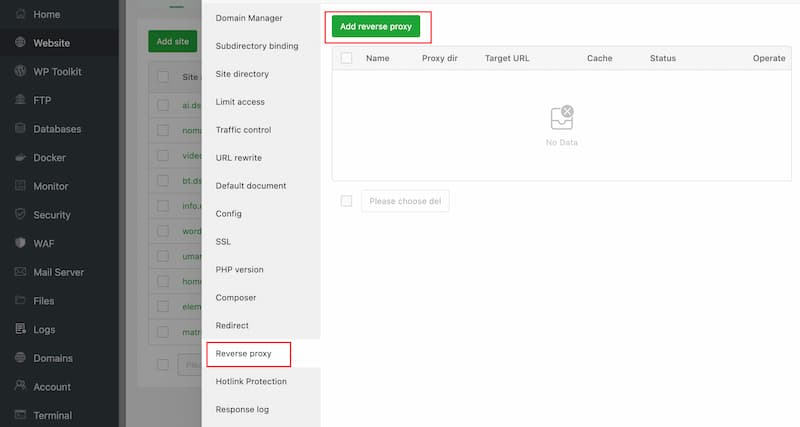
Then open the left menu, Website, click ai.dsx2016.com to open the corresponding website settings pop-up box
Click Reverse proxy, click Add reverse proxy
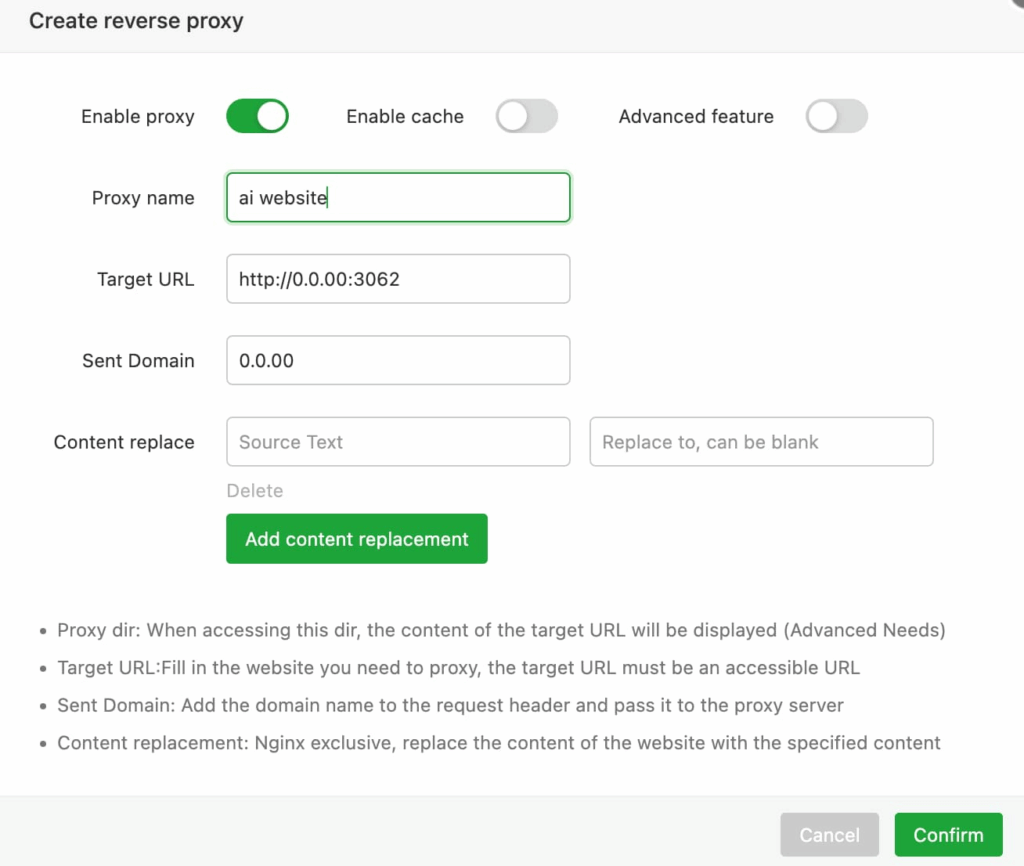
Set up a reverse proxy
Proxy name is whatever you want, just a note
Target URL, the first part is http://0.0.0.0:, the second part is the port number
Then click Confrim and you’re done
Note
When Docker Compose WordPress is deployed on a cloud server, that is, a cloud server with Aapanel installed, the WordPress blog site can be accessed normally.
When Docker Compose WordPress is deployed on a local server, if you want to access the WordPress on the local server with a public domain name, you need to set up FRP separately. At this time, the port number is not WordPress port 3062, but FRP proxy port, such as 9000, etc.
Tips
This article is just a record
Some basic or complex content will be randomly ignored
Only record the operations and settings encountered at the moment
If a reader needs to explain something in particular, please leave a message on the blog and I will update the corresponding content as appropriate
Time is limited, if there is not much demand, only record the important content